The Paisley Motif: Its History and How to Draw Your Own Version
Few motifs carry as much travel history as the paisley. It arrives on a piece of cloth as a bent teardrop — heavy at the base, tapering to a curled tip — and in the space of a few centimetres it can hold flowers, vines, geometric borders or nothing at all. Designers keep returning to it for a simple reason: the shape fills space efficiently and points the eye in a direction at the same time. Here is where the boteh came from, and a calm, repeatable method for drawing your own version with a pencil, a ruler and something round.
Where the paisley shape began
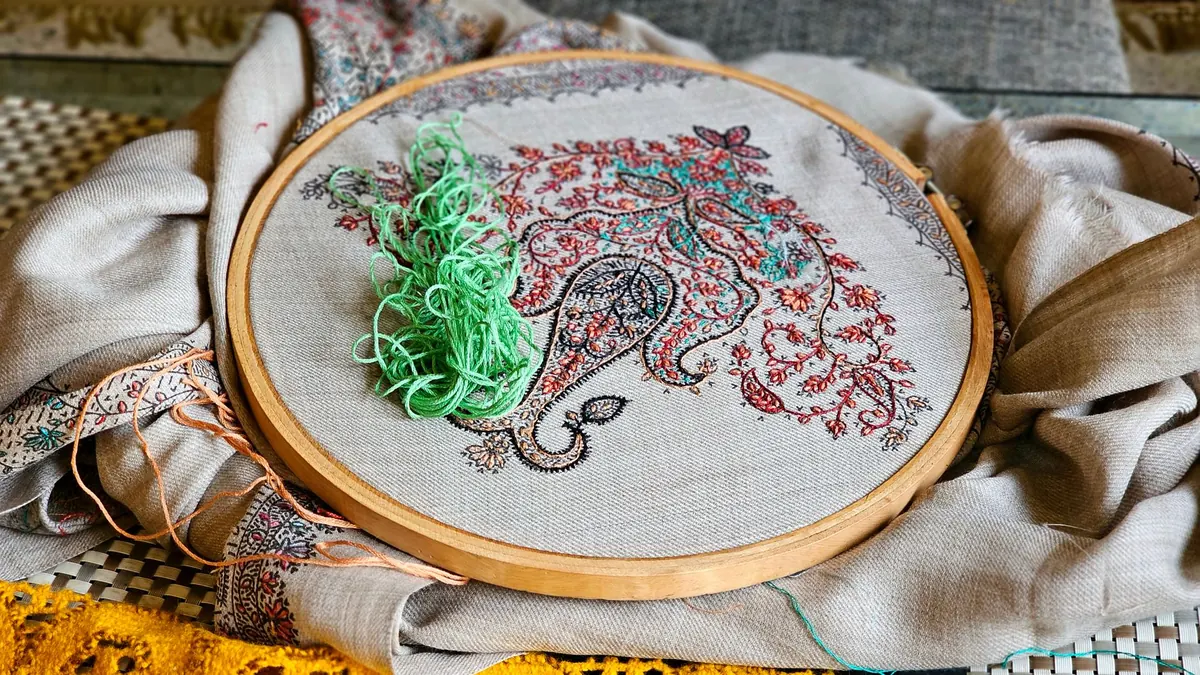
The motif's older name is boteh — a Persian word usually translated as "bush" or "cluster of leaves". Related forms appear across Persian and Indian design: on woven silks, carpet fields, manuscript borders and metalwork, across several centuries and many workshops. In Kashmir the same shape was known as a buta, and it was there that it reached its most elaborate form.
What the boteh means is genuinely unsettled, and that ambiguity is part of its charm. It has been read as a cypress tree bending in the wind, a spray of blossoms, a bird's breast, a flame, a mango. In Zoroastrian tradition the cypress stood for life and endurance, so the tree reading carries weight, but no single explanation covers every example. Workshops did not follow one master drawing: Persian versions tend to be slender and upright, Kashmiri ones broader and crowded with flowers. Treat the shape as a family of forms rather than a fixed template.
From Kashmir to a Scottish town
Fine wool shawls woven in Kashmir, with the boteh worked into both border and field, were prized in Mughal courts and later in Europe. By the early nineteenth century they were a fashion staple in Britain and France, and imported shawls cost more than most households could justify. European manufacturers responded with imitations, using draw looms and, later, Jacquard mechanisms to build the pattern into the cloth.
Paisley, in Renfrewshire, had the mills, the dye houses and the weaving workforce to do it at scale, and by the middle of the century the town's name had attached itself to the motif. Other weaving centres made similar shawls, but Paisley won the naming rights. When shawl fashion faded later in the century, the pattern moved onto printed cotton, handkerchiefs, ties and furnishing fabric, and returned to the foreground in the 1960s.
Why the motif still works
Before drawing one, it helps to know what you are working with. The boteh is a well-designed unit:
- It balances without symmetry. The weight sits at the base and the tip curls away, so the eye travels around the shape and back again.
- It is a container. The silhouette can be left empty or packed with flowers, stripes, dots or a smaller boteh.
- It nests. A miniature copy tucked inside the main outline reads clearly and adds richness without disturbing the structure.
- It repeats well. Rows of boteh can be mirrored, staggered or overlapped, and they read as a rhythm rather than a scatter.
- It scales. The same drawing works on a scarf hem and on a wallpaper panel.
Drawing a modern boteh: a simple construction
You need a pencil, a ruler, a compass or a round object, and tracing paper. Work at about 12 cm tall — large enough to see your decisions, small enough to finish in ten minutes.
- Set the box. Draw a vertical guide line, then a rectangle around it, roughly 1:1.6 (taller than wide). A squatter box gives a plumper, more contemporary shape; a tall one gives the classic slenderness.
- Draw the spine. From the bottom point of the box, draw a gentle curve that leans to one side and ends near the top. This is the axis the whole motif hangs on.
- Mark the widest point. Measure about a third of the way up from the base and mark the width on both sides of the guide. Keep it modest — beginner boteh are almost always too fat.
- Build the outline in two arcs. The lower arc runs from the bottom point out to the widest mark; the upper arc sweeps from there up to the tip. A compass or a mug rim helps, but the important thing is that the two arcs meet smoothly.
- Curl the tip. Instead of stopping at the top, hook the line back and down in a short arc. Go slowly and loosely — a stiff tip is the clearest giveaway of a rushed drawing.
- Add the inner line. Repeat the outline three to five millimetres inside the first. This second line is what makes the motif look like textile design rather than a doodle.
- Fill it. Keep early attempts plain: a row of dots, a few small leaves, a scaled-down spiral. Add detail only once the silhouette reads well on its own.
A useful test: squint at your drawing from arm's length. If the outline still reads as a boteh, the proportions are working. If it looks like a leaf or a comma, check the tip curl and the width of the base.
Variations worth trying
Once one version is on paper, the shape becomes a system. A few directions that pay off:
- Mirror two boteh so their tips lean towards each other, and use the pair as a border unit.
- Nest a small boteh inside a large one at a different angle to stop the repeat feeling rigid.
- Break the outline: let a flower or a leaf cross the inner line, as many historical shawls do.
- Stagger your rows in a half-drop arrangement rather than lining them up, which softens the grid.
- Keep the palette to one dominant colour and two supporting tones; the pattern already carries plenty of information.
Practising it, then putting it to use
Draw twenty versions at postcard size before you judge any of them, varying the box, the spine lean and the tip curl. Keep the ones that work in a sketchbook, or scan them and rebuild the best with clean vector lines so it can be recoloured and repeated quickly. Then test the motif at the size it will actually appear — a cushion, a scarf, a notebook cover — because a shape that looks delicate on screen can turn to noise on fabric. Give yourself one constraint per session: today the tip, tomorrow the repeat. The boteh has survived several centuries of redrawing because it is forgiving, and yours will be too.
You Might Also Like
A practical guide to re-engineering one repeat so it works at stationery and furnishing scale. Keep the rhythm, redraw the detail.
How digital and screen printing compare for a first fabric run — setup costs, minimums, colour limits and hand feel, plus the questions to ask before you commit.